Managing WooCommerce product data
ACPT has a special integration with WooCommerce plugin.
If you have WooCommerce plugin already installed and you don’t see the product on main ACPT dashboard try to run a manual synchronization.
Then locate a column named Product data in the main ACPT dashboard and click on the green button Create.
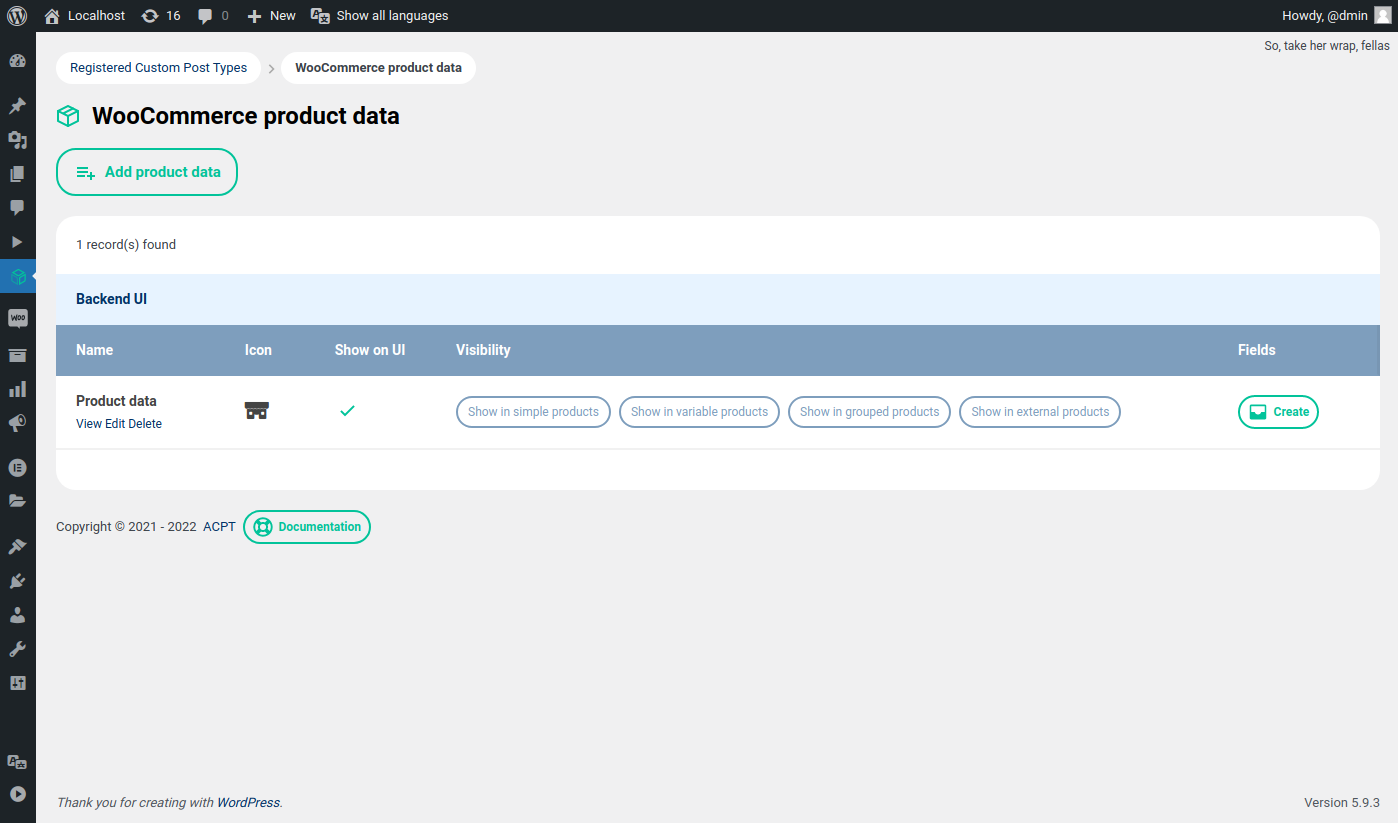
Managing product data
Once you are in the WooCommerce product data dashboard you can run these operations:
- create new product data
- update an existing product data
- view a registered product data
- delete a registered product data
Create a new product data
From the dashboard click on “Add product data” green button to create a new one:
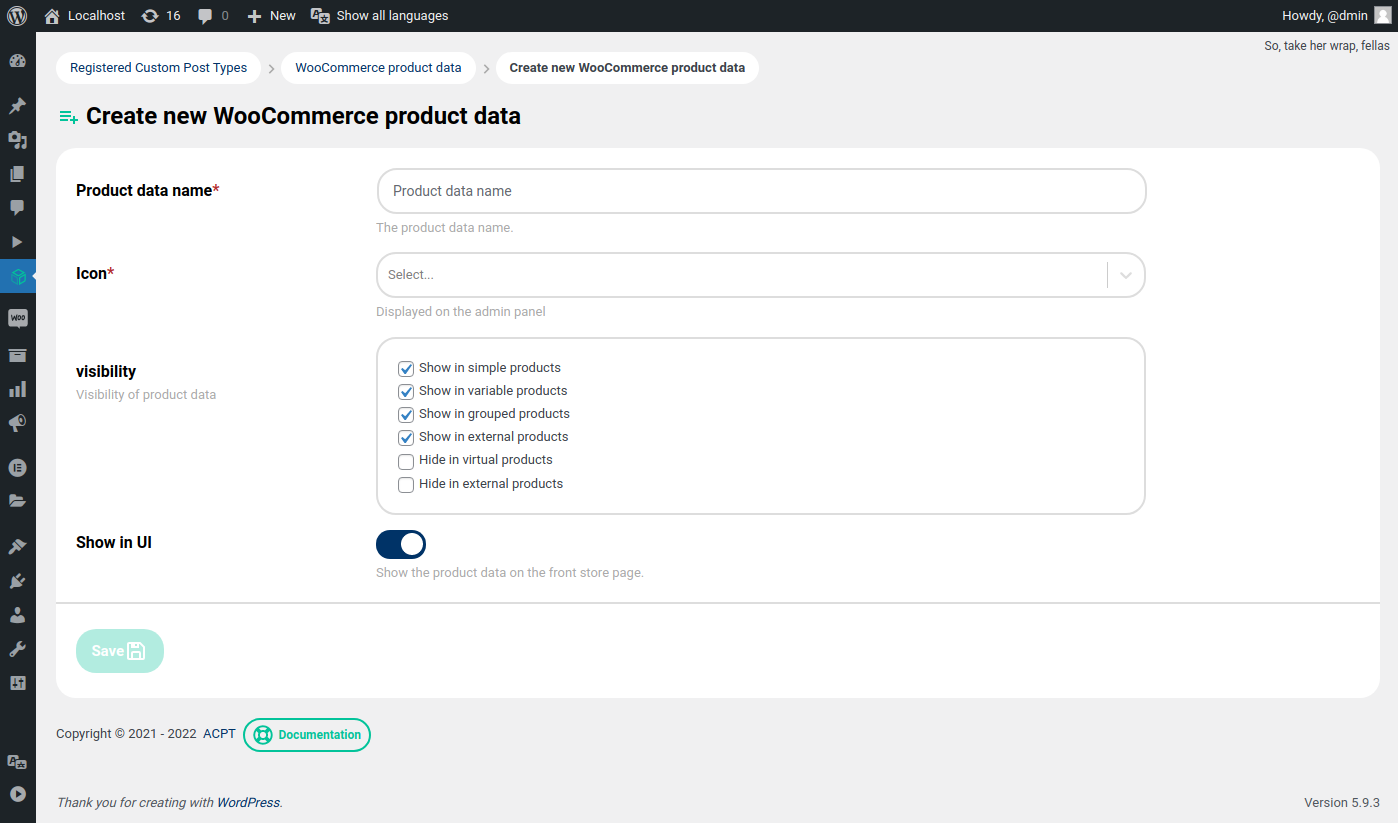
The creation of a new product data is a single step process, you have to set:
- product name
- icon (taken from this list)
- visibility
- show in UI
Update an existent product data
You have two ways to Update a post type:
- by clicking the Edit link in the dashboard
- by clicking the Edit link in the View mode
The update process is pretty identical to the creation one.
View a registered product data
By clicking the View link in the dashboard you can view product data.
Delete a product data
By clicking the Delete link in the dashboard you can delete product data.
It’s very important to understand that this operation DOES NOT DELETE anything on the posts wordpress DB table, but only the ACPT settings. After deleting a product data you will no longer display it in the admin panel, even if the records are still present. If you try to re-create the same product data you will see the data.
Managing product data fields
Locate the Fields column in the Product data dashboard. Click on the green button “Create“.
The product data fields manager looks very similar to the meta box manager:
A new field box appears.
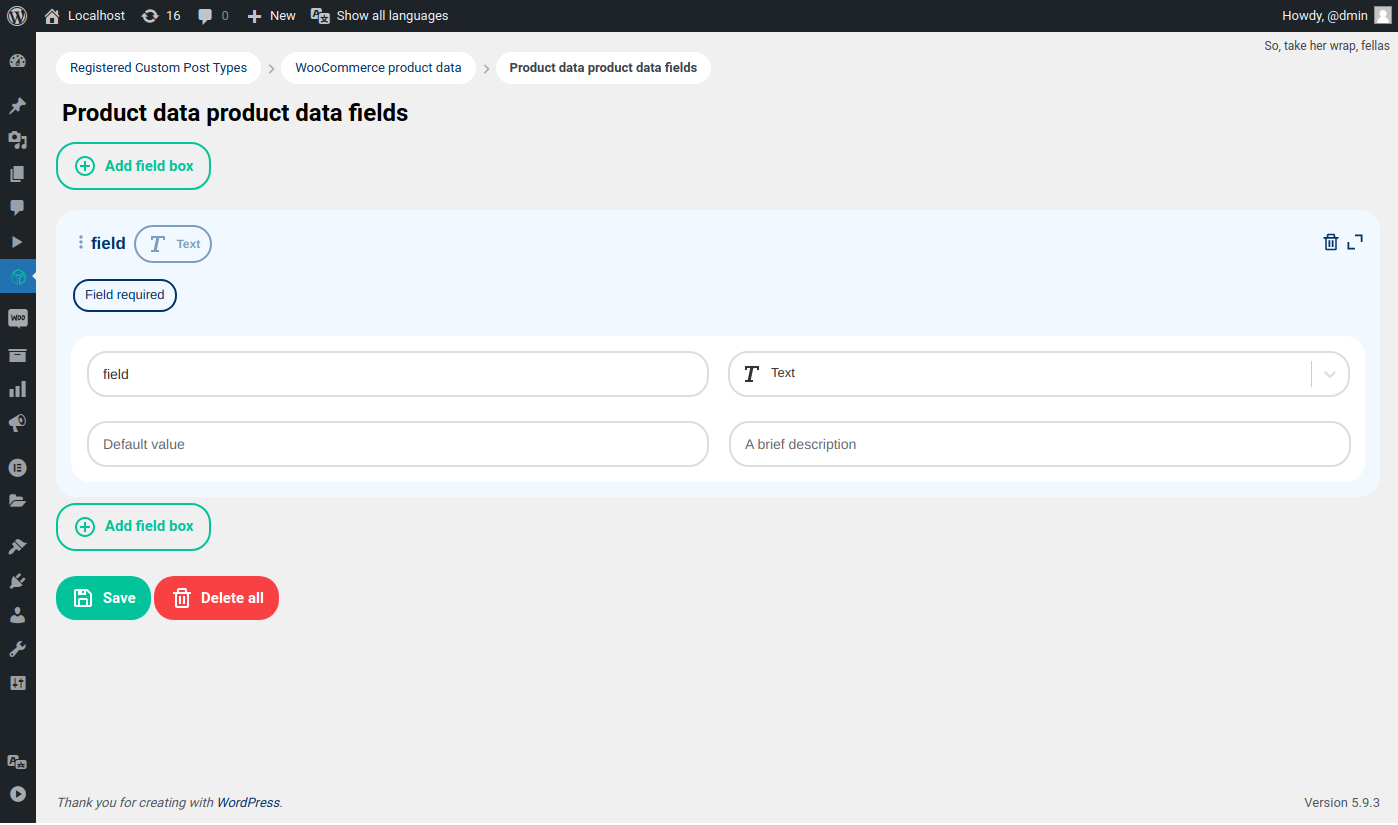
Please note three icons on the box header:
- the sorting hande
- the delete button
- the collapse button
From the top to bottom you have:
Field required: click on this button if you want this field to be requiredField name: write here the name of the fieldField type: select the field type. Please refer to the dedicated section for more infoDefault value: the default valueDescription: the description tip
Field types
Five types are allowed:
- Text
- Textarea
- Select
- Checkbox
- Radio
If you select a field type that allows only a list of possible values you will display the Options list panel where you can type the label and the value for every option.
Sorting items
Every item (meta box, field, or option) can be sorted by keeping pressed the sorting hande present in every panel.
After saving a new set of product data fields, you can always edit it.
In the product data dashboard Fields column, you’ll notice that the grey create button now turned into a blue manage one.